

A locket necklace is a timeless piece of jewelry that holds sentimental value, often featuring a small photo of a loved one or a cherished memory. However, resizing and printing a photo to fit perfectly inside a locket can be tricky. This guide will walk you through the process of creating locket-sized photos step by step, ensuring your locket pendant becomes a beautiful keepsake. Whether you’re working with a heart-shaped locket or a classic round design, this article will help you achieve the perfect fit.
Outline of the Article
- What is a Locket Necklace and Why is it Special?
- How to Measure the Size of Your Locket?
- What Tools Do You Need to Resize and Print Locket Photos?
- Step 1: Choosing the Right Photo for Your Locket
- Step 2: Resizing Your Photo to Fit the Locket
- Step 3: Printing Your Locket-Sized Photo
- How to Trim and Place the Photo in the Locket?
- Creative Ideas for Customizing Your Locket Pendant
- Common Mistakes to Avoid When Resizing Photos for Lockets
- FAQs About Printing Locket-Sized Photos
What is a Locket Necklace and Why is it Special?
A locket necklace is a small, wearable piece of jewelry that opens to reveal a photo or keepsake inside. Lockets have been cherished for centuries as a way to keep loved ones close to your heart. They come in various shapes, such as round, oval, or heart-shaped, and are often passed down as heirlooms.
“Lockets are one of the most meaningful pieces of jewelry, holding memories and emotions in a small, elegant pendant.”
Whether you’re creating a heart locket for a gift or preserving a memory for yourself, the process of adding a perfectly sized photo is what makes it truly personal.
How to Measure the Size of Your Locket?
Before resizing your photo, it’s important to measure the size of your locket accurately. Here’s how:
- Open the Locket: Carefully open the locket to reveal the photo area.
- Measure the Width and Height: Use a ruler to measure the width and height of the photo area inside the locket.
- Trace Around the Locket: Place a piece of tracing paper over the locket and trace the shape of your locket to create a template.
Pro Tip: If your locket has an irregular shape, such as a heart shape, tracing the outline will help you achieve a better fit.
What Tools Do You Need to Resize and Print Locket Photos?
To create a locket-sized photo, you’ll need the following tools:
| Tool | Purpose |
|---|---|
| Photo Editing Software | Resize and crop the photo to fit the locket. |
| Printer | Print the resized photo (preferably an inkjet printer). |
| Photo Paper | Ensures high-quality prints for your locket. |
| Tracing Paper | Helps create a template for the locket’s shape. |
| Scissors or Craft Knife | Trim the photo to the exact size and shape of the locket. |
Step 1: Choosing the Right Photo for Your Locket
The first step in creating a locket pendant is selecting the perfect photo. Here’s what to consider:
- Pick a Clear Image: Choose a photo with good resolution and contrast. A picture of a loved one works best for lockets.
- Crop the Image: Use a photo editing tool to crop the image and focus on the subject. Remove any unnecessary background.
- Ensure Enough Background: Leave a small margin around the subject to ensure the photo fits well inside the locket.
Tip: If you’re unsure about the photo’s quality, use Adobe Photoshop or an online photo editor to enhance it.
Step 2: Resizing Your Photo to Fit the Locket
Resizing the photo is crucial to ensure it fits perfectly inside the locket. Follow these steps:
- Measure the Locket: Use the dimensions you measured earlier to determine the size of your locket.
- Resize Your Image: Open the photo in a photo editing tool like Photoshop or a free online editor. Adjust the width and height to match the locket’s dimensions.
- Create a Template: Use the traced outline of the locket to ensure the photo matches the locket shape.
Pro Tip: If you’re resizing multiple photos, save them as a template for future use.
Step 3: Printing Your Locket-Sized Photo
Once your photo is resized, it’s time to print it. Here’s how:
- Choose the Right Paper: Use photo paper or high-quality cardstock for the best results.
- Print Your Image: Use a printer at home or a professional printing service to print the photo.
- Test the Size: Print a test version on regular paper to ensure the photo fits the locket before using photo paper.
Important: Always print at the highest resolution to maintain the photo’s quality.
How to Trim and Place the Photo in the Locket?
After printing, you’ll need to trim the photo and place it inside the locket. Here’s how:
- Trim Your Photo: Use scissors or a craft knife to cut the photo along the template you created.
- Test the Fit: Place the photo inside the locket to ensure it fits snugly. Trim the edges if necessary.
- Hold the Photo in Place: Use a small amount of adhesive or double-sided tape to secure the photo inside the locket.
Tip: Avoid using too much glue, as it can damage the photo.
Creative Ideas for Customizing Your Locket Pendant
Make your locket necklace even more special with these creative ideas:
- Add a Personal Message: Include a small note or engraving inside the locket.
- Use a Double-Sided Locket: Add two photos or a photo and a keepsake, such as a lock of hair.
- Experiment with Shapes: Try unique designs like a heart-shaped locket or a vintage-style locket.
“A locket is more than just a piece of jewelry—it’s a keepsake that tells a story.”
Common Mistakes to Avoid When Resizing Photos for Lockets
Even with the best intentions, mistakes can happen. Here’s how to avoid them:
- Skipping the Measuring Step: It’s crucial to measure the locket accurately before resizing the photo.
- Using the Wrong Paper: Low-quality paper can ruin the look of your locket.
- Not Testing the Size: Always print a test version to ensure the photo fits perfectly.
FAQs About Printing Locket-Sized Photos
How do I measure the size of my locket?
Use a ruler to measure the width and height of the photo area inside the locket. For irregular shapes, trace the outline with tracing paper.Can I resize photos without Photoshop?
Yes, you can use free online tools like Canva or PicMonkey to resize your photo.What type of paper should I use for locket photos?
High-quality photo paper or cardstock works best for printing locket photos.How do I secure the photo inside the locket?
Use double-sided tape or a small amount of adhesive to hold the photo in place.Can I print locket photos at home?
Yes, you can use a printer at home or opt for professional printing services for higher quality.
Internal Links to Explore More
- Personalized Photo Necklace
- Heart Shaped Butterfly Pendant Necklace
- Customized Photo Angel Wings Necklace
- Heart Shape Personalized Projection Necklace for Women
- Valentine’s Day Fashion Heart Shape Photo Projection Silver Chain
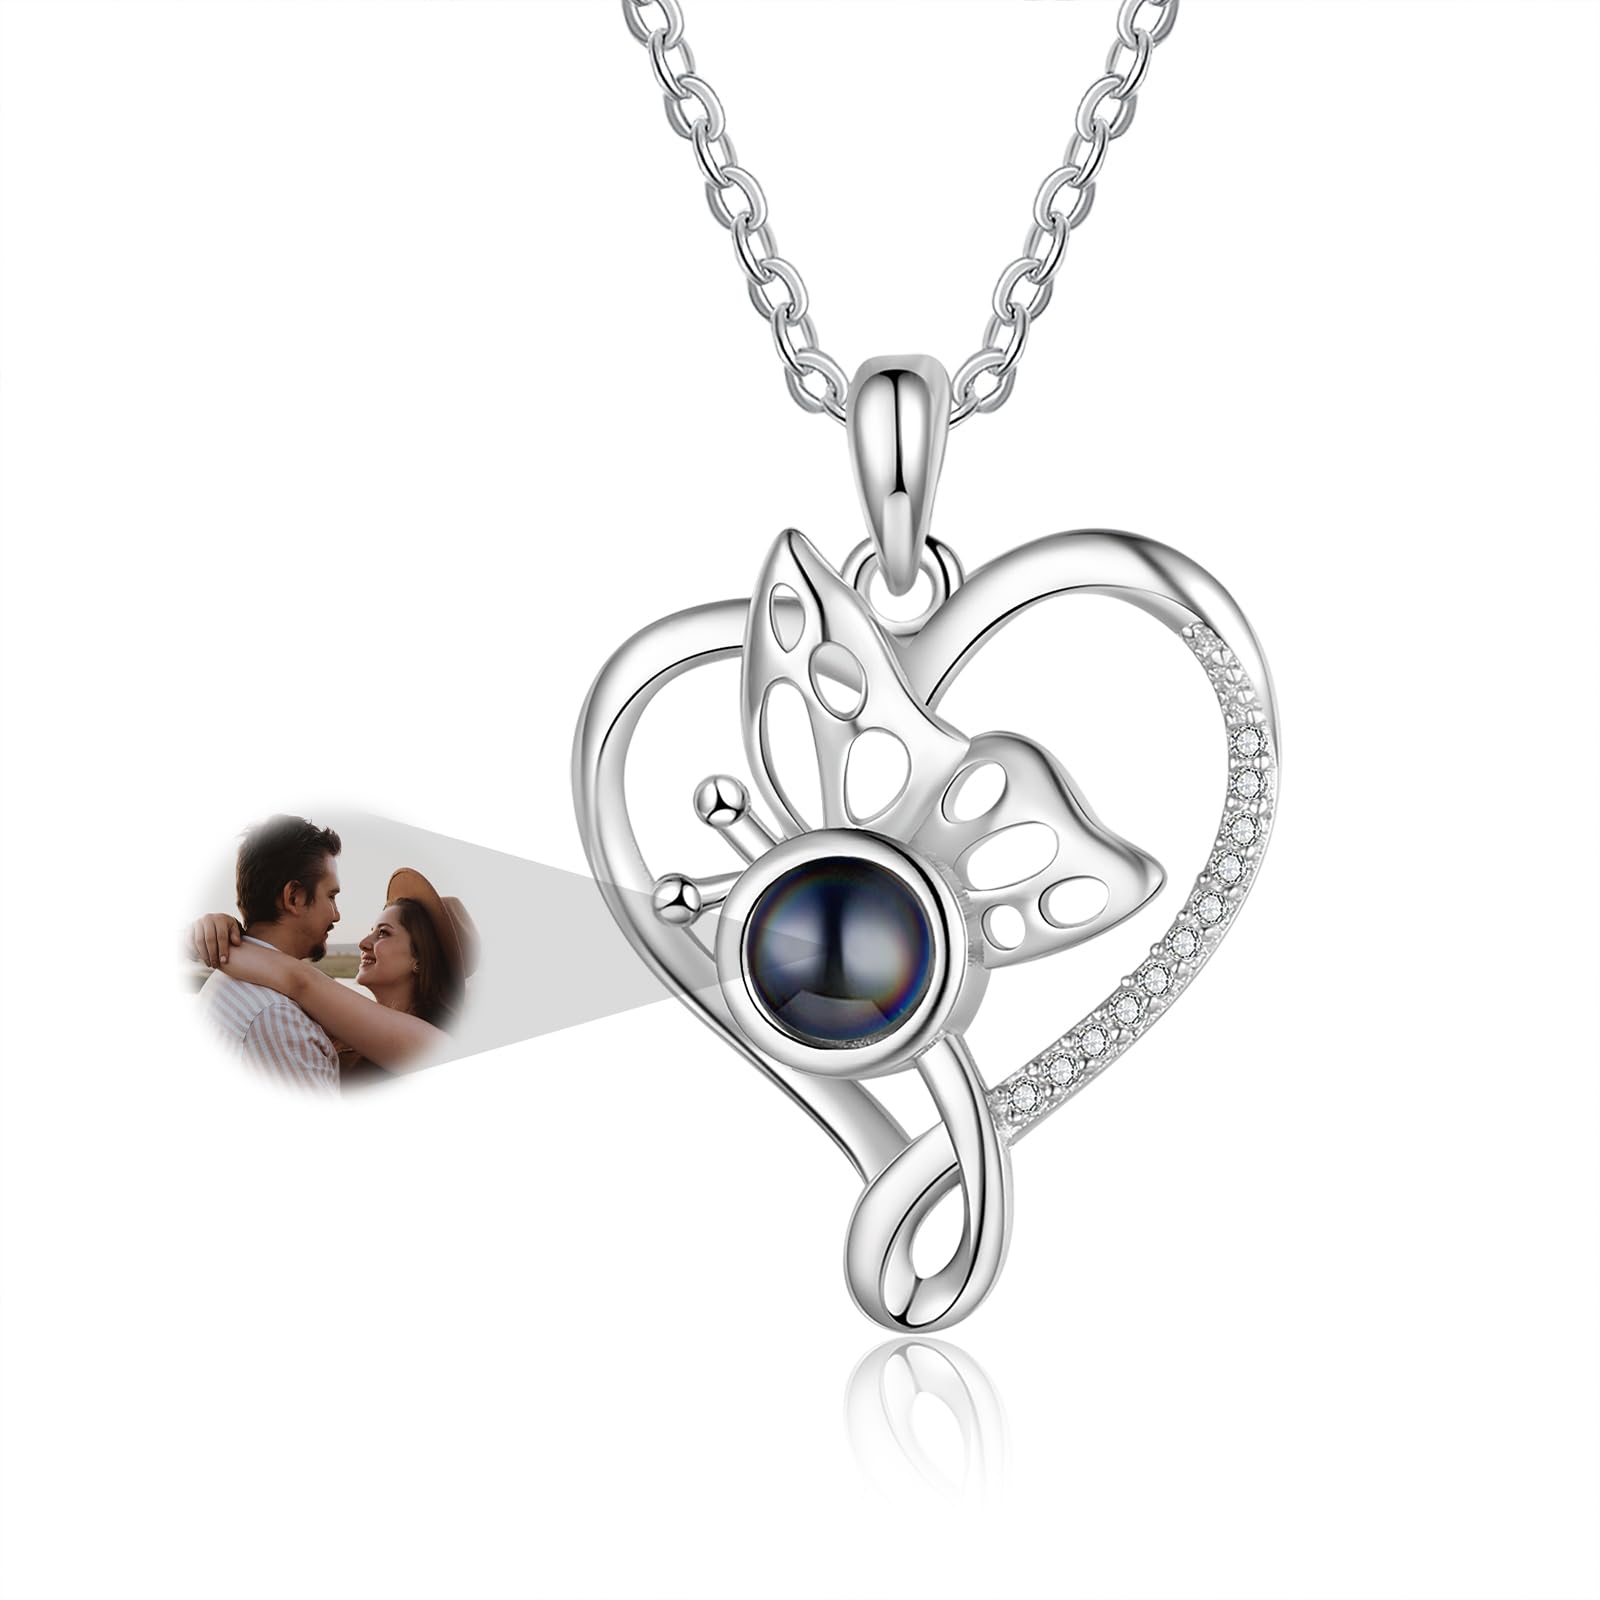
Alt: Heart Shaped Butterfly Pendant Necklace
Summary: Key Takeaways
- A locket necklace is a meaningful piece of jewelry that holds a photo or keepsake.
- Measure the size of your locket accurately before resizing the photo.
- Use photo editing tools to resize your image and ensure it fits perfectly.
- Print the photo on high-quality photo paper for the best results.
- Avoid common mistakes like skipping the measuring step or using low-quality materials.
By following this guide, you’ll create a stunning locket pendant that preserves your cherished memories. Whether it’s for yourself or a loved one, a personalized locket is a timeless treasure.