

Creating a DIY photo pendant necklace is a fun and rewarding project that allows you to craft a personalized piece of jewelry. Whether you’re making a photo pendant as a heartfelt gift or a unique keepsake, this guide will walk you through the process step by step. By the end of this article, you’ll know how to make a photo pendant necklace that’s both beautiful and meaningful. Let’s dive in and explore the art of creating photo jewelry!
Outline of the Article
- What is a Photo Pendant Necklace?
- Why Make a DIY Photo Pendant Necklace?
- What Materials Do You Need to Make a Photo Pendant?
- Step 1: Preparing Your Photo
- Step 2: Choosing the Right Pendant Tray
- Step 3: Sealing the Photo
- How to Use Resin for a Professional Finish
- Creative Ideas for Photo Pendants
- Common Mistakes to Avoid When Making a Photo Pendant
- FAQs About DIY Photo Pendant Necklaces
What is a Photo Pendant Necklace?
A photo pendant necklace is a piece of jewelry that features a small, personalized photo encased in a pendant. These pendants can be made using various materials, such as resin, glass tiles, or even lockets. They are often used as sentimental gifts or keepsakes, making them a popular choice for occasions like Mother’s Day, anniversaries, or birthdays.
Why Make a DIY Photo Pendant Necklace?
Making a DIY photo pendant necklace is not only a creative activity but also a meaningful way to preserve memories. Here are some reasons why you should try it:
- Personalized Gift Idea: A photo pendant necklace makes a thoughtful and unique gift idea for loved ones.
- Affordable and Fun: Crafting your own jewelry is cost-effective and enjoyable.
- Creative Expression: You can customize the design, colors, and materials to suit your style.
“Pendants make memories wearable, turning a simple photo into a cherished piece of jewelry.”
What Materials Do You Need to Make a Photo Pendant?
Before you start, gather the following materials:
| Material | Purpose |
|---|---|
| Pendant Tray | Holds the photo and resin. |
| Photo Paper | Prints the photo you want to use. |
| Resin and Hardener | Creates a clear, durable finish over the photo. |
| Mod Podge | Seals the photo to protect it from resin. |
| Glamour Seal | An alternative to Mod Podge for sealing the photo. |
| Bezel | The frame that holds the photo in place. |
| Printer | Prints the photo (preferably an inkjet printer for high-quality images). |
| Cardstock | Provides a sturdy backing for the photo. |
Step 1: Preparing Your Photo
The first step in making a photo pendant necklace is selecting and preparing your photo. Follow these steps:
- Choose the Right Photo: Pick an original photo that is clear and has good contrast. Resize it to fit your pendant tray.
- Print the Photo: Use photo paper or matte card stock for the best results. Ensure the paper is thicker than regular printer paper.
- Cut the Photo: Carefully cut the photo to match the shape of your pendant tray.
Pro Tip: Use photo editing software to enhance the image before printing.
Step 2: Choosing the Right Pendant Tray
The pendant tray is the foundation of your photo pendant necklace. Here’s what to consider:
- Size and Shape: Choose a tray that complements your photo. Common shapes include round, square, and heart-shaped.
- Material: Opt for a durable material like stainless steel or brass.
- Design: Some trays come with decorative bezels or intricate designs.
Step 3: Sealing the Photo
To protect your photo and ensure it lasts, you’ll need to seal it. Here’s how:
- Apply a Thin Layer of Mod Podge: Use a brush to apply a thin layer of Mod Podge over the photo. This will prevent the resin from damaging the image.
- Let It Dry: Allow the Mod Podge to dry completely before proceeding.
- Seal the Edges: Apply a small amount of Mod Podge around the edges of the photo to ensure it’s fully sealed.
Important: You’ll need to seal the photo properly to avoid discoloration when adding resin.
How to Use Resin for a Professional Finish
Using resin gives your photo pendant a glossy, professional look. Follow these steps:
- Mix the Resin and Hardener: Combine equal parts of resin and hardener according to the instructions.
- Pour the Resin: Carefully pour a small amount of resin into the pendant tray, covering the photo.
- Remove Air Bubbles: Use a toothpick or heat gun to eliminate any bubbles.
- Let It Cure: Allow the resin to cure for 24-48 hours in a dust-free environment.
Tip: Use a thin layer of glaze for a smoother finish.
Creative Ideas for Photo Pendants
Looking for inspiration? Here are some creative ways to customize your photo pendant necklace:
- Add Glitter or Dried Flowers: Incorporate decorative elements into the resin for a unique touch.
- Use a Glass Tile: Instead of resin, use a clear glass tile to cover the photo.
- Create a Themed Pendant: Use photos of pets, landscapes, or special moments to match the recipient’s interests.
Common Mistakes to Avoid When Making a Photo Pendant
Even with the best intentions, mistakes can happen. Here’s how to avoid them:
- Using Too Much Glue: Applying too much glue can cause the photo to wrinkle.
- Skipping the Sealing Step: You need to seal the photo to prevent damage from resin.
- Not Letting Resin Cure Fully: Rushing the curing process can result in a sticky finish.
FAQs About DIY Photo Pendant Necklaces
How long does it take to make a photo pendant necklace?
The process typically takes 1-2 hours, plus 24-48 hours for the resin to cure.Can I use any type of photo for the pendant?
Yes, but it’s best to use a high-quality, photo printed on photo paper or cardstock.What is the best way to seal the photo?
Using Mod Podge or Glamour Seal is recommended to protect the photo from resin.Can I make a photo pendant without resin?
Yes, you can use a glass gem or tile instead of resin for a similar effect.What are some occasions to gift a photo pendant necklace?
Photo pendants are perfect for Mother’s Day, anniversaries, birthdays, or as a sentimental keepsake.
Internal Links to Explore More
- Personalized Photo Necklace
- Custom Photo Rose Gold and Silver Necklace
- Heart Shaped Butterfly Pendant Necklace
- Projected Photo Round Tree Pendant Necklace
- Valentine’s Day Fashion Heart Shape Photo Projection Silver Chain
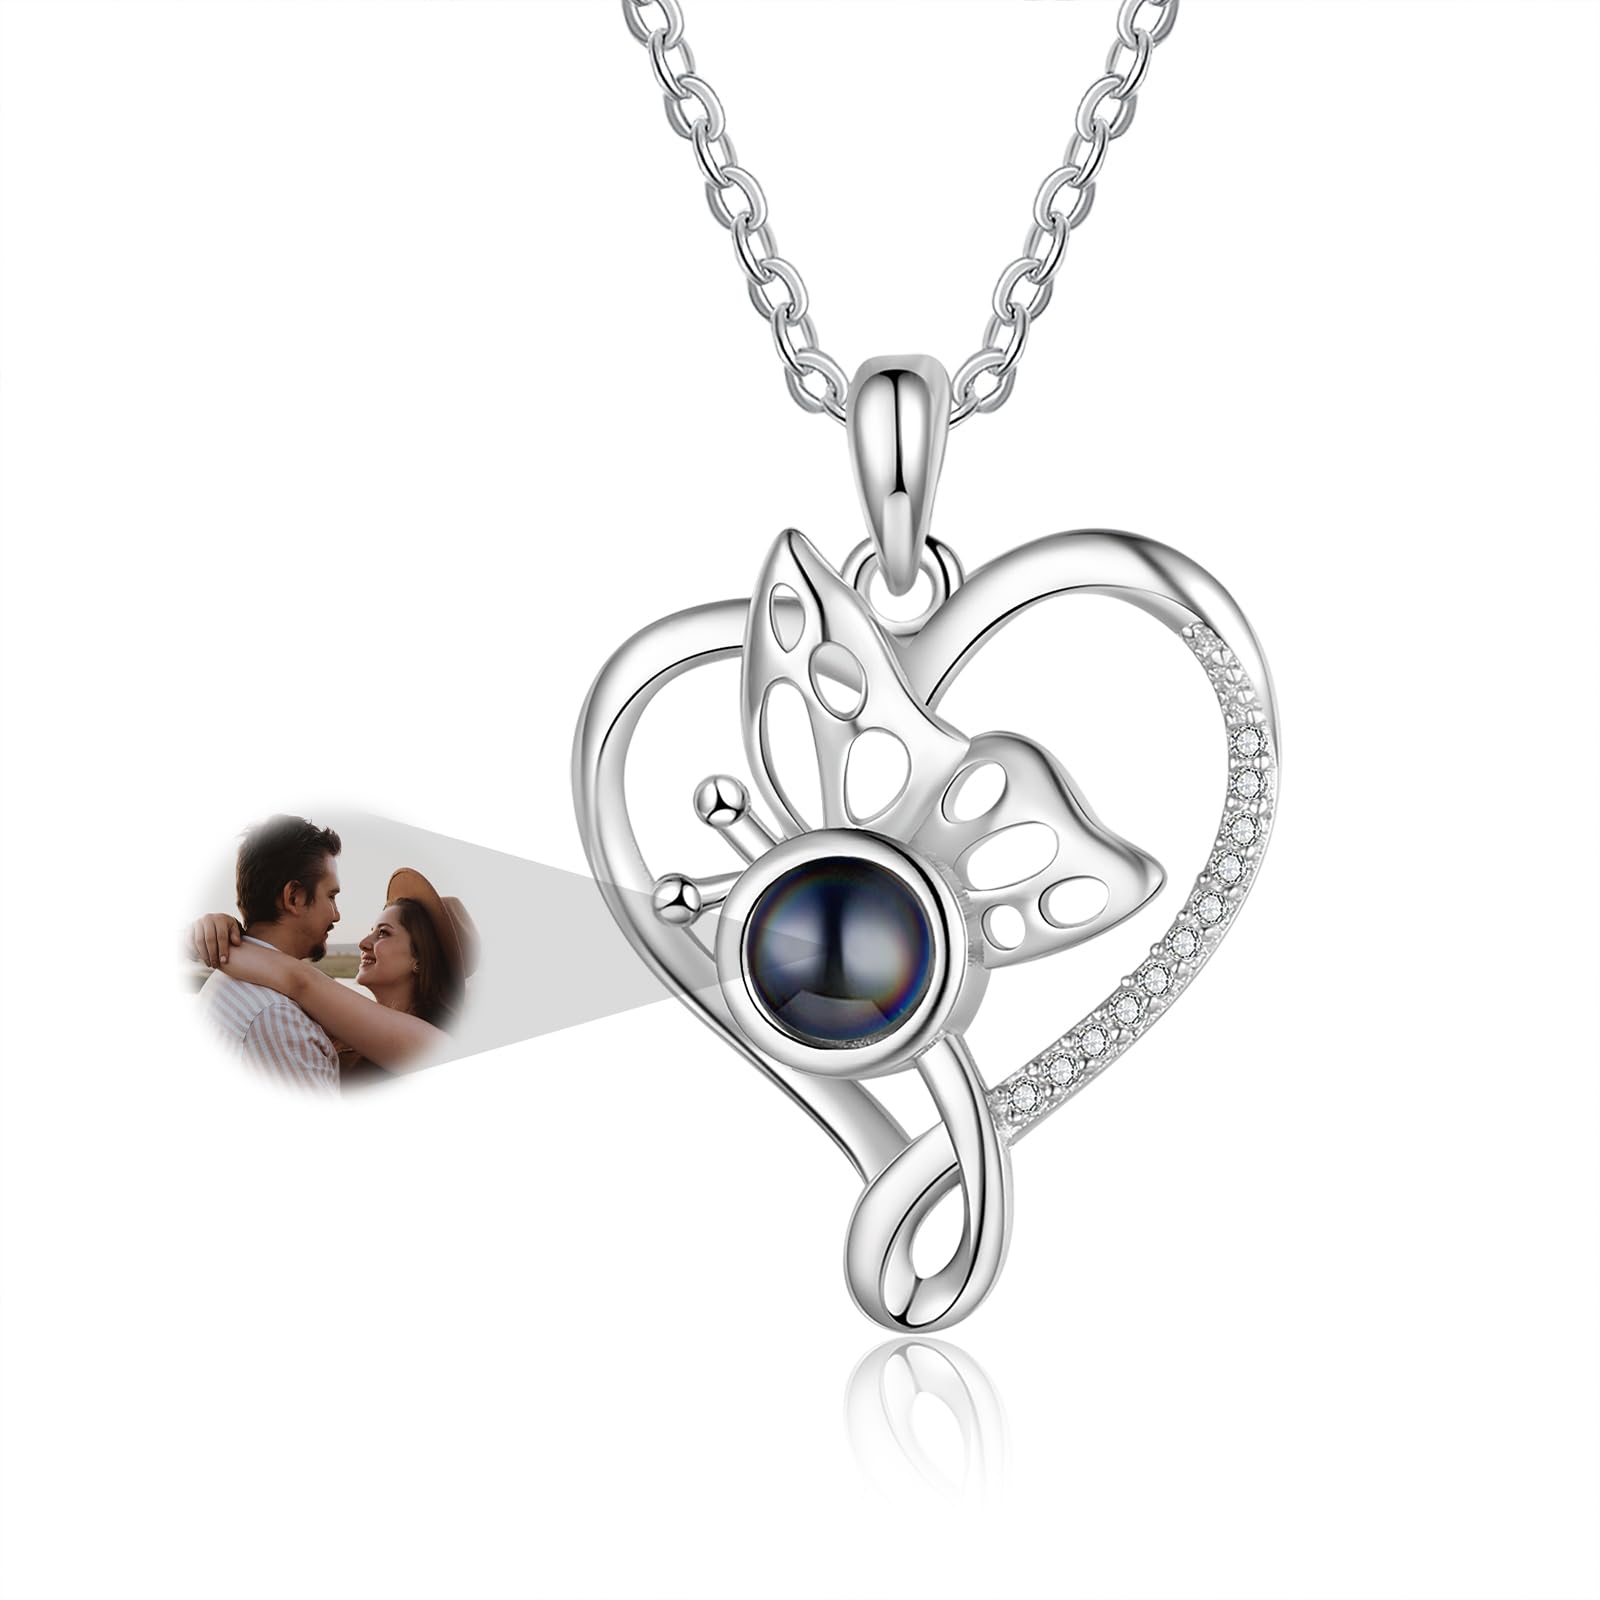
Alt: Heart Shaped Butterfly Pendant Necklace
Summary: Key Takeaways
- A photo pendant necklace is a meaningful and customizable piece of jewelry.
- Gather materials like a pendant tray, resin, and photo paper before starting.
- Follow the steps: prepare the photo, seal it, and use resin for a professional finish.
- Avoid common mistakes like skipping the sealing step or using too much glue.
- Get creative with designs and make your pendant unique!
By following this guide, you’ll not only learn how to make a stunning photo pendant necklace but also create a cherished keepsake that will be treasured for years to come. Happy crafting!